
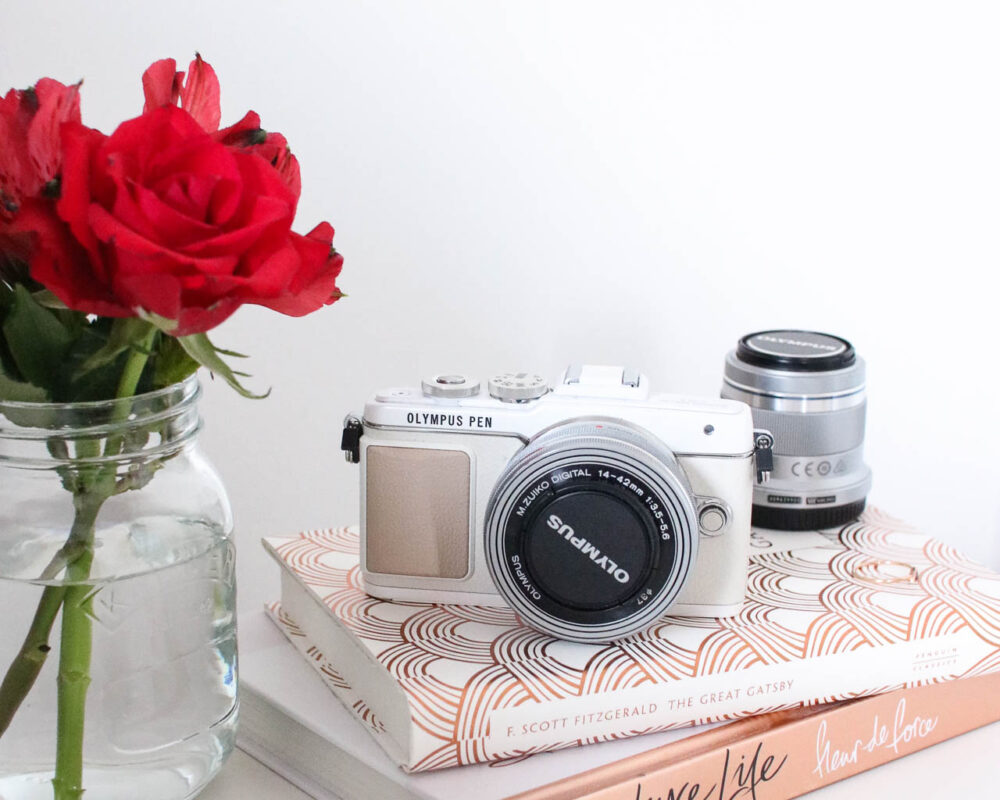

Today I’m going to be chatting about my beloved camera, the Olympus Pen EPL-7. I’ve had this camera for just under a year now, so I feel like I can now put together a coherent post all about how I use it and the little tricks I’ve picked up that make my life easier.
First of all – I just want to say I really like this camera. This isn’t really a review post, but if you were to ask me if it is worth the money then I’d say 100% yes. It has been the best investment that I’ve made in this blog and I now use it far more often than my (much more expensive..) DSLR.
It’s easy to carry around on the go, takes really beautiful pictures and nowadays you can get it for a pretty good price. Since the EPL-8 was released, the 7 has decreased in price and I think it is a great option if you don’t want to spend a huge amount of money on a camera.
So, yeah. I really like this camera! But now I’m going to move onto what this post is really about and chat about my tips & tricks for using the Olympus Pen EPL-7.
Shooting in multiple image aspects.
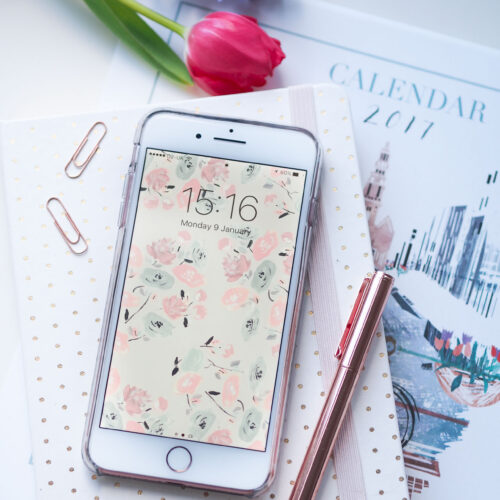
One of the features of the Olympus Pen EPL-7 is that you can change the size of the image while actually shooting photos. There are a variety of options: 3:2 ratio, 3:4, 1:1 and many more. But the one I use the most is 1:1, which makes the image square. This, of course, makes shooting images specifically for Instagram a lot easier.
I find this especially useful as I always use my camera for Instagram photos, rather than my phone. But a lot of the time the Instagram app crops out a lot of the photo, meaning it doesn’t look absolutely perfect in the square grid. So shooting in the square mode makes it a lot easier to compose photos that will look good in the Instagram feed.
Invest in Lenses.
For me, this is probably the most important piece of advice in this post. While this camera is great and I love it, I am not so in love with the kit lens that comes with it. Don’t get me wrong, it’s decent enough for snapping photos on-the-go. But if you want beautiful, blurred background, bright pictures then you will have to invest in one of Olympus’ lenses.
I have the 45mm and the 17mm lenses, which are both very different. My favourite is the 45mm, because I like my photos to have that blurred background, bright look. You have to stand far away from what you’re taking pictures of, which can be a pain, but it is totally worth it. The 17mm is a more recent purchase, but I use this more as a replacement to the kit lens. It takes lovely images, that are so super clear, but I so feel like I need to unlock it’s potential still.
Now, I know lenses aren’t cheap. But the reason why I’m recommending investing in these Olympus lenses is because they are actually a very decent price compared to the likes of Canon and Nikon lenses for DSLRs. You’ll be able to get amazing quality images, with a great depth of field, without paying £500+ for a single lens.
Increasing brightness before shooting.
Ok, if you’re a seasoned photographer then this will have you rolling your eyes at how basic it is. But, I had to mention it. I almost always will alter the brightness on the camera before I take any photos as I think it looks better than just brightening it during editing. I normally brighten my photos afterwards too, but I find altering it before the photo is even taken just makes the image look a bit more realistic.
To do this, you click top of the little circle menu button and then use the left & right keys on the same menu to turn the brightness up and down. I feel like that was the worst explanation ever, but you get my point! I usually set it for +0.3 or +0.7 as I find these to add just enough brightness without overexposing the photo.
I find this especially useful for shooting photos for Instagram, as I normally just transfer photos to my phone from my Olympus Pen EPL-7 and do edits on apps. I still haven’t found a brightening tool on an app that I am 100% happy with (everything looks too washed out!) so adding brightness pre-shoot does help a lot.
Changing white balance.
This is a little trick that I actually learned from the lovely Katy (who runs the amazing www.littlemisskaty.co.uk). I am going to link to her post all about how to find the custom white balance setting on the EPL-7 here, because she does a much better job at explaining it than I could!
Basically, setting a custom white balance allows you to change the tones in your images to suit your surroundings. So for example, if you are shooting with a yellowish light in the room you can adjust it to make the images come out cooler.
For me, I find this really useful if I have to shoot in poor lighting conditions. It is a handy trick to know in the Autumn/Winter months when the days are shorter and we have hardly any natural light (the only downside to the colder months in my eyes!). I think it makes the images come out much better than trying to edit the colour tones in a program afterwards (especially if you aren’t super confident using powerful editing programs like Photoshop & Lightroom!).
Playing with the f. stop.
Again, this is a ‘tip’ that most photographers would roll their eyes at. But I cannot profess to be a professional photographer and I would have liked this information when I was just starting out with blog photography. So I figure that I’ll just add it in anyway!
The f. stop basically controls the focal length of the image. If I’m being honest, I don’t know the full definitions of all these photography terms so I’m just going to describe them in the way that I use them! I use the f. stop to control if I want an image where there is a blurred out background, or an image where everything in the frame is in focus (or something in-between!).
For example, on the 45mm lens a f. stop of 1.4 will give you that blurred background effect and very dreamy looking photos. This is great for outfit photos and also for images where you don’t necessarily want everything in focus (flowers, for example, look great blurred out in images).
One thing I’ve learned with the 45mm lens specifically is that I can get much more use out of it by playing with the f. stop. When I first bought the lens, I thought it was only for those blurry photos and for flatlays and other detail-heavy images I’d have to change lenses. But what I’ve discovered since is that using the 45mm with a higher f. stop (I normally go for around 6.5) allows you to get beautiful, bright, dreamy images with everything still in focus.
I feel like this is so simplistic, but like I said I only learned about this recently and it has really helped my photography. I’d definitely recommend playing around with the f. stop and seeing what it does to your photos and finding what settings you like best. Everyone has different photography styles, so not everything will work the same for everyone!
What a ramble of a post! But I do really hope some of these tips have helped you if you are an Olympus Pen EPL-7 user or if you are just thinking about making the investment in one!
Do let me know if you have any tips or tricks for using it, as I am always looking for new ways to use it. Being self-taught with photography is really fun, but I definitely have a lot of gaps in my knowledge to fill!

